Table of Contents
- Quick Answer: How Many Lumens Does a Garage Need?
- How Many Lumens per Square Foot Does a Garage Need?
- How to Calculate Lumens for Your Garage
- Practical Example: Planning a 20 × 20 Two-Car Garage
- Why the Same Number of Lumens Can Look Completely Different
- How Garage Use Changes the Lighting You Need
- Is 5,000 or 10,000 Lumens Enough for a Garage?
- Beyond Lumens: Color Temperature, CRI, and Glare
- Why Ceiling Lights Still Leave Shadows During Garage Work
- Where Portable Task Lighting Helps Most
- Final Takeaway
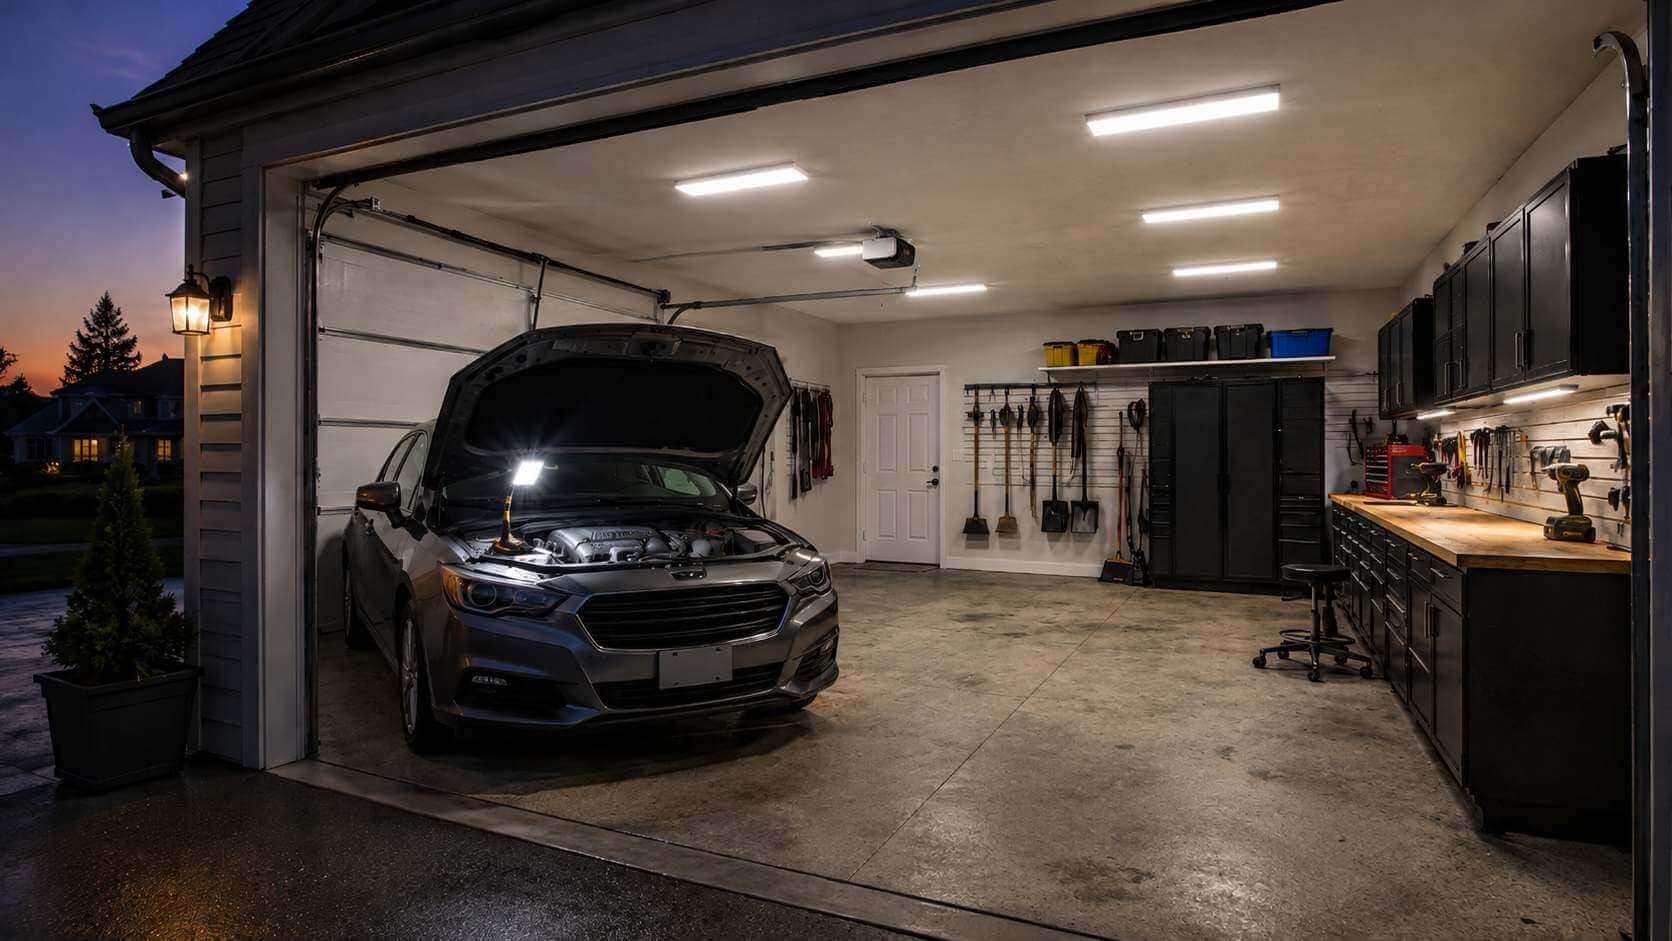
A garage can appear to have good garage lighting from the doorway and still be frustratingly dark once you open the hood, kneel beside a wheel, or work with small parts at a bench.
The reason is simple: total lumen output is only one part of an effective lighting plan. Garage size, ceiling height, fixture placement, wall color, beam distribution, and shadows from vehicles or storage all affect how much usable light reaches the area where you are working.
A practical plan uses two layers: ambient lighting for the garage as a whole and task lighting for workbenches, engine bays, wheel wells, and other shadowed areas.
Quick Answer: How Many Lumens Does a Garage Need?
The following ranges are practical planning targets for a residential garage. They are not building-code requirements, and they describe light reaching the working surface—not simply the combined lumen numbers printed on fixture boxes.
Garage use | Suggested illuminance | Typical tasks |
Parking and storage | 10–20 foot-candles | Parking, walking, and finding stored items |
General garage use | 20–30 foot-candles | Cleaning, organizing, and basic household tasks |
DIY and workbench projects | 30–50 foot-candles | Tool use, woodworking, and home repairs |
Auto repair and detailed work | 50–75 foot-candles | Engine work, brakes, wiring, and small-part inspection |
Important distinction
A calculation based on foot-candles estimates the light needed at the work surface. The combined rated output of the fixtures may need to be higher because some light is lost through mounting height, beam spread, dark surfaces, obstructions, dirt, and normal light depreciation.
How Many Lumens per Square Foot Does a Garage Need?
For simple planning, one foot-candle is equal to one lumen of light reaching one square foot of surface. That means a target of 30–50 foot-candles is roughly 30–50 lumens per square foot at the work plane.
This does not mean every square foot of the garage needs the same brightness. A parking bay, storage wall, and workbench can be treated as separate zones. Provide comfortable ambient light throughout the garage, then increase the level only where detailed work takes place.
Lumens, Foot-Candles, Lux, and Watts Explained
These terms describe different parts of lighting performance:
- Lumens measure the total visible light produced by a lamp or fixture.
- Foot-candles measure how much light reaches a surface in U.S. customary units.
- Lux measure illuminance in the metric system; one foot-candle is approximately 10.76 lux.
- Watts measure electrical power consumption, not brightness. When comparing modern LEDs, use lumens for light output and watts for energy use.
Two fixtures with the same rated lumen output can therefore produce very different results. One may be mounted higher, have a narrower beam, or sit where a vehicle blocks part of the light. The package number alone does not guarantee the same brightness at the floor, workbench, or engine bay.
How to Calculate Lumens for Your Garage
Measure the garage length and width to find the square footage.
Garage length × garage width = square footage
Choose a target light level based on the main use of the area.
Multiply the square footage by the target foot-candles.
Square footage × target foot-candles = estimated lumens at the work plane
For a 20-by-20-foot two-car garage:
20 × 20 = 400 square feet
For general DIY work at 30–50 foot-candles:
400 × 30–50 = 12,000–20,000 lumens at the work plane
This is a planning estimate, not an exact fixture specification. A professional calculation would also consider maintained illuminance, horizontal and vertical light levels, uniformity, fixture efficiency, beam distribution, mounting height, reflectance, and light loss over time.
Garage Lumen Estimates by Size and Use
Measure the actual room whenever possible rather than relying only on the number of parking bays. The examples below use common footprints and the planning ranges above.
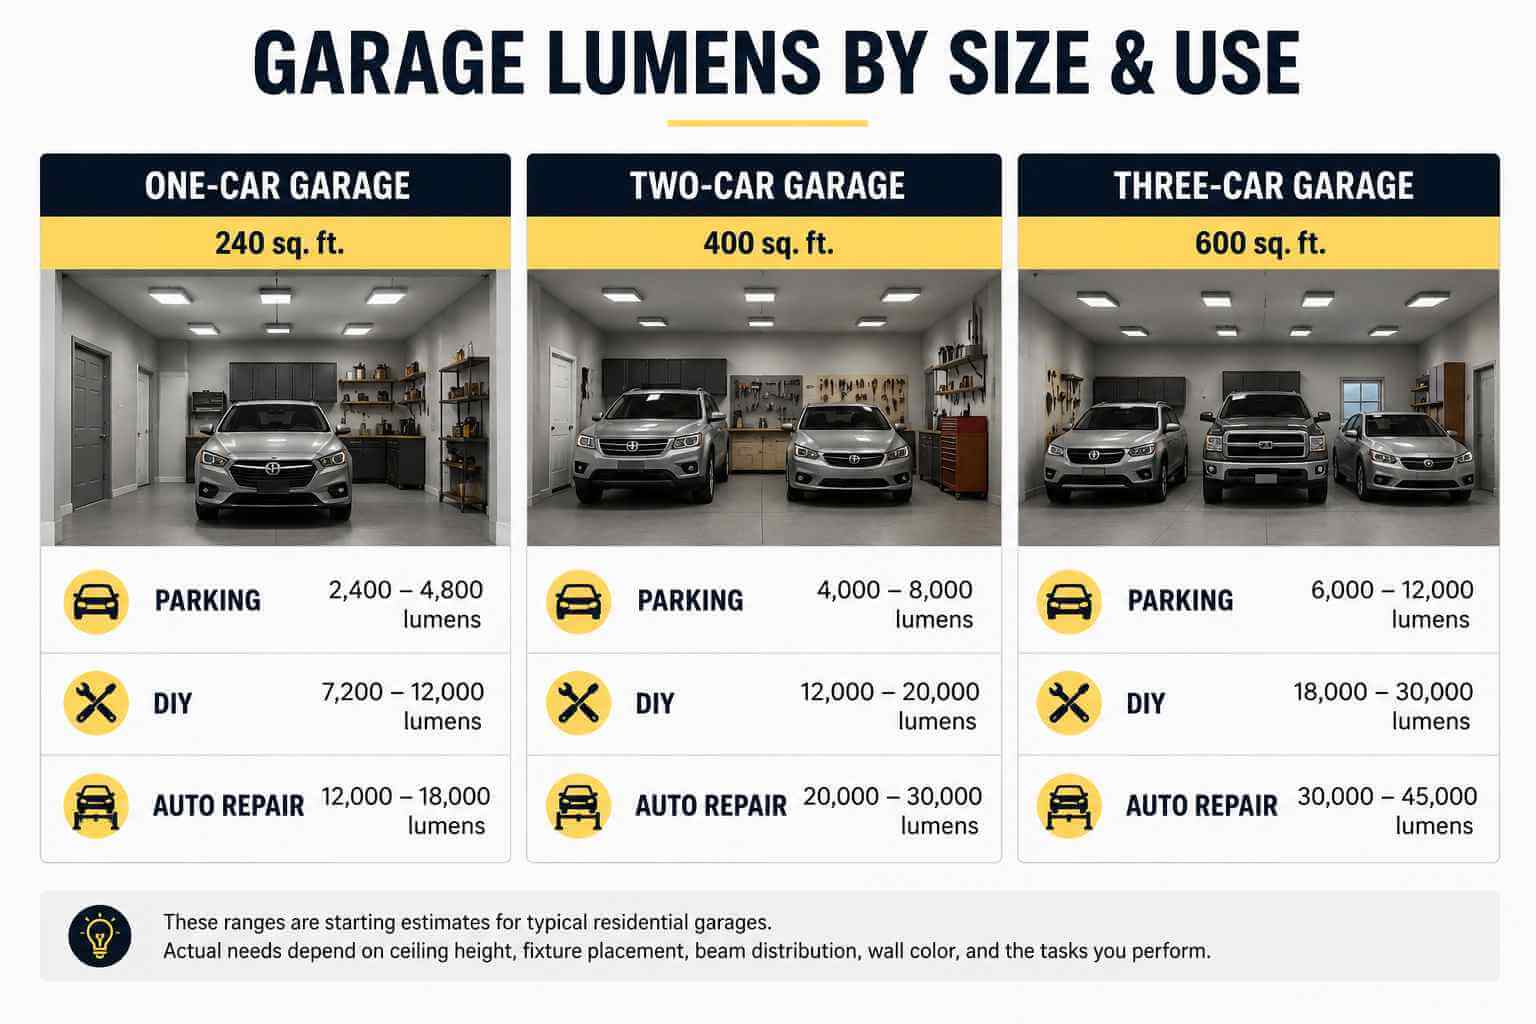
One-Car Garage: 12 × 20 ft (240 sq. ft.)
- Parking and storage: 2,400–4,800 lumens
- DIY and workbench use: 7,200–12,000 lumens
- Auto repair and detailed work: 12,000–18,000 lumens
Two-Car Garage: 20 × 20 ft (400 sq. ft.)
- Parking and storage: 4,000–8,000 lumens
- DIY and workbench use: 12,000–20,000 lumens
- Auto repair and detailed work: 20,000–30,000 lumens
Three-Car Garage: 30 × 20 ft (600 sq. ft.)
- Parking and storage: 6,000–12,000 lumens
- DIY and workbench use: 18,000–30,000 lumens
- Auto repair and detailed work: 30,000–45,000 lumens
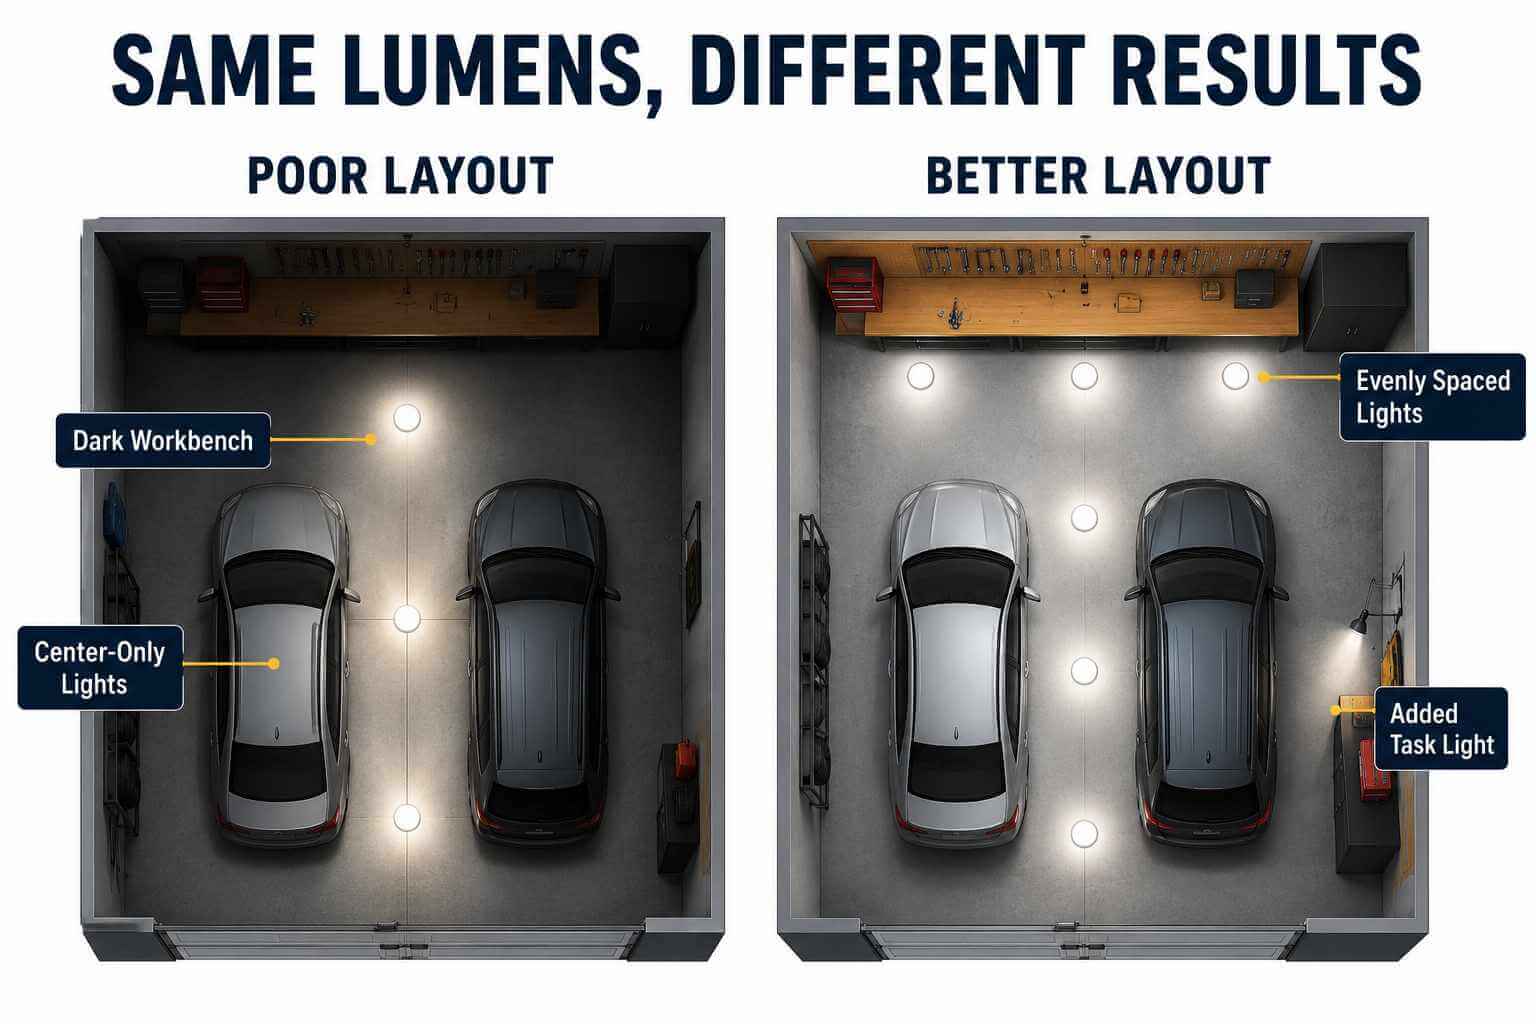
These totals do not mean you should install one extremely bright fixture in the center of the ceiling. Several well-spaced fixtures generally produce better uniformity and fewer hard shadows. The fixture-rated output may also need to exceed the work-plane estimate, especially in a high-ceiling garage or a room with dark finishes.
Practical Example: Planning a 20 × 20 Two-Car Garage
Consider a 400-square-foot garage used for parking during the week and DIY vehicle maintenance on weekends. A sensible planning process would be:
Set an ambient-lighting goal that makes walking, storage, and cleaning comfortable throughout the room.
Use several ceiling fixtures instead of one central source so both sides of each vehicle and the workbench receive more even coverage.
For illustration, six fixtures rated at 3,000 lumens each would provide 18,000 rated lumens. Whether that produces 30–50 foot-candles at the work surface still depends on mounting height, spacing, optics, and room reflectance.
Add adjustable task lighting at the workbench, beside the wheels, and under the hood rather than trying to eliminate every local shadow with ceiling output alone.
Why this is an example—not a test result
The layout above demonstrates how to apply the calculation. It is not a laboratory measurement or a universal installation plan. For a precision project, verify the final layout with fixture photometric data, a light meter, or a qualified lighting professional.
Why the Same Number of Lumens Can Look Completely Different
- Ceiling Height
As the distance between the fixture and the work surface increases, less usable light may reach the bench, engine, or floor. High ceilings require greater attention to fixture distribution and beam control.
- Wall and Floor Colors
White and light-colored surfaces reflect more light into the room. Dark walls, floors, cabinets, and ceilings absorb more light, making the same fixtures appear less effective.
- Fixture Placement
A single row of lights down the center may leave the workbench, garage corners, and both sides of a vehicle in shadow. Fixtures arranged across the space usually provide more even coverage.
- Shadows and Glare
Vehicles, shelves, an open hood, and even your own body can block ceiling light. At the same time, concentrated sources can create glare on painted body panels, metal tools, or glossy floors. More output is not helpful when it makes details harder to see.
How Garage Use Changes the Lighting You Need
- Parking and Storage
For a garage used mainly for parking and storage, the priority is safe, even visibility around entrances, steps, shelves, and vehicles. There is little reason to light the entire room to a precision-work standard.
- DIY and Workbench Projects
A workbench needs more light than a walkway. Fixtures should be positioned so your head, shoulders, and tools do not block the light while you work.
- Auto Repair
Auto repair involves reading wire colors, checking fluid leaks, finding small bolts, and seeing belts, hoses, terminals, and brake components clearly. The light must reach the engine bay, wheel wells, and underside of the vehicle—not just the garage floor.
- Detailing and Precision Inspection
Paint correction, polishing, and close inspection depend on uniformity, color rendering, glare control, and the angle of the light. A bright but poorly positioned fixture can hide scratches instead of revealing them.
OSHA lists 10 foot-candles as a minimum for certain general construction shops. That figure is a workplace safety minimum under a construction standard, not a residential comfort target for detailed car repair. Minimum illumination and comfortable task lighting are not the same thing.
Is 5,000 or 10,000 Lumens Enough for a Garage?
Is 5,000 Lumens Enough?
Five thousand lumens may be useful for basic storage, safe movement, or one section of a small garage. For a two-car garage used for DIY projects or vehicle maintenance, the number alone tells you very little. You still need to consider square footage, mounting height, coverage, and shadows around the vehicle.
Is 10,000 Lumens Enough?
Ten thousand lumens may work for a smaller garage and general household use. It may still fall short in a larger room, a garage with dark finishes, or a shop used for detailed mechanical work. Ten thousand lumens spread across several well-positioned fixtures will usually be more useful than the same output concentrated over the center aisle.
Beyond Lumens: Color Temperature, CRI, and Glare
- A 4000K light has a neutral-white appearance that works well for everyday garage use and extended DIY projects.
- A 5000K light looks cooler and may provide stronger perceived contrast for some mechanical tasks.
Color temperature changes the appearance of the light; it does not increase the lumen output.
CRI describes how faithfully a light source reveals colors. Good color rendering helps when identifying wires, fluids, surface finishes, and paint condition. The U.S. Department of Energy generally recommends a minimum CRI of 80 for interior lighting, while 90 or higher indicates stronger color fidelity.
Glare matters just as much. Exposed high-output LEDs, sharp transitions between bright and dark areas, and reflections from paint or metal can create visual fatigue. Even, controllable light is usually more useful than maximum brightness.
Why Ceiling Lights Still Leave Shadows During Garage Work
Ceiling fixtures provide ambient light, but they cannot reach every surface. An open hood blocks light from above. The body of the vehicle shades wheels, brakes, and the undercarriage. At a workbench, your own body may block the light behind you.
In these situations, adding more ceiling lumens is not always the most efficient solution. Use:
- Ambient lighting for the room as a whole
- Task lighting for the exact area where the work is happening
Where Portable Task Lighting Helps Most
For workbenches, vehicle sides, wheel areas, and repair positions that change throughout a project, an adjustable portable garage work light can fill the shadows left by fixed fixtures.
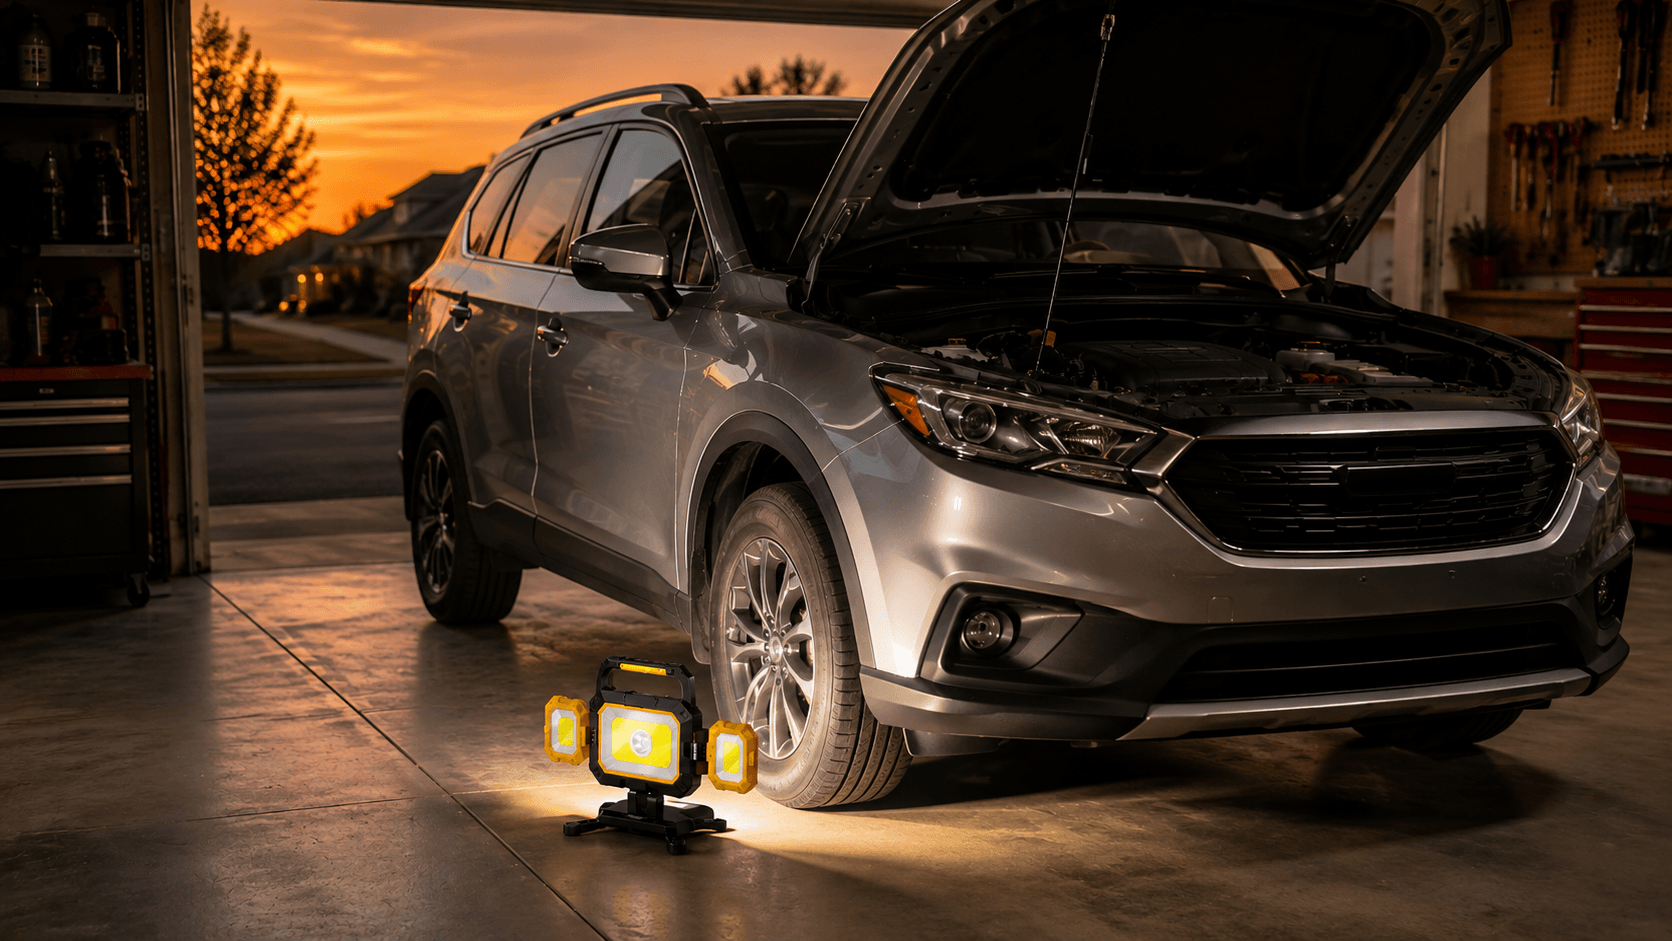
The HOKOLITE YZONI W5 rechargeable work light, for example, produces up to 4,000 lumens and combines a center spotlight with broad floodlighting. Its magnetic base and multi-angle panels allow it to sit near a toolbox, workbench, or metal vehicle surface. It is not a substitute for properly planned ceiling lights; its role is to place usable light where those fixtures cannot reach.
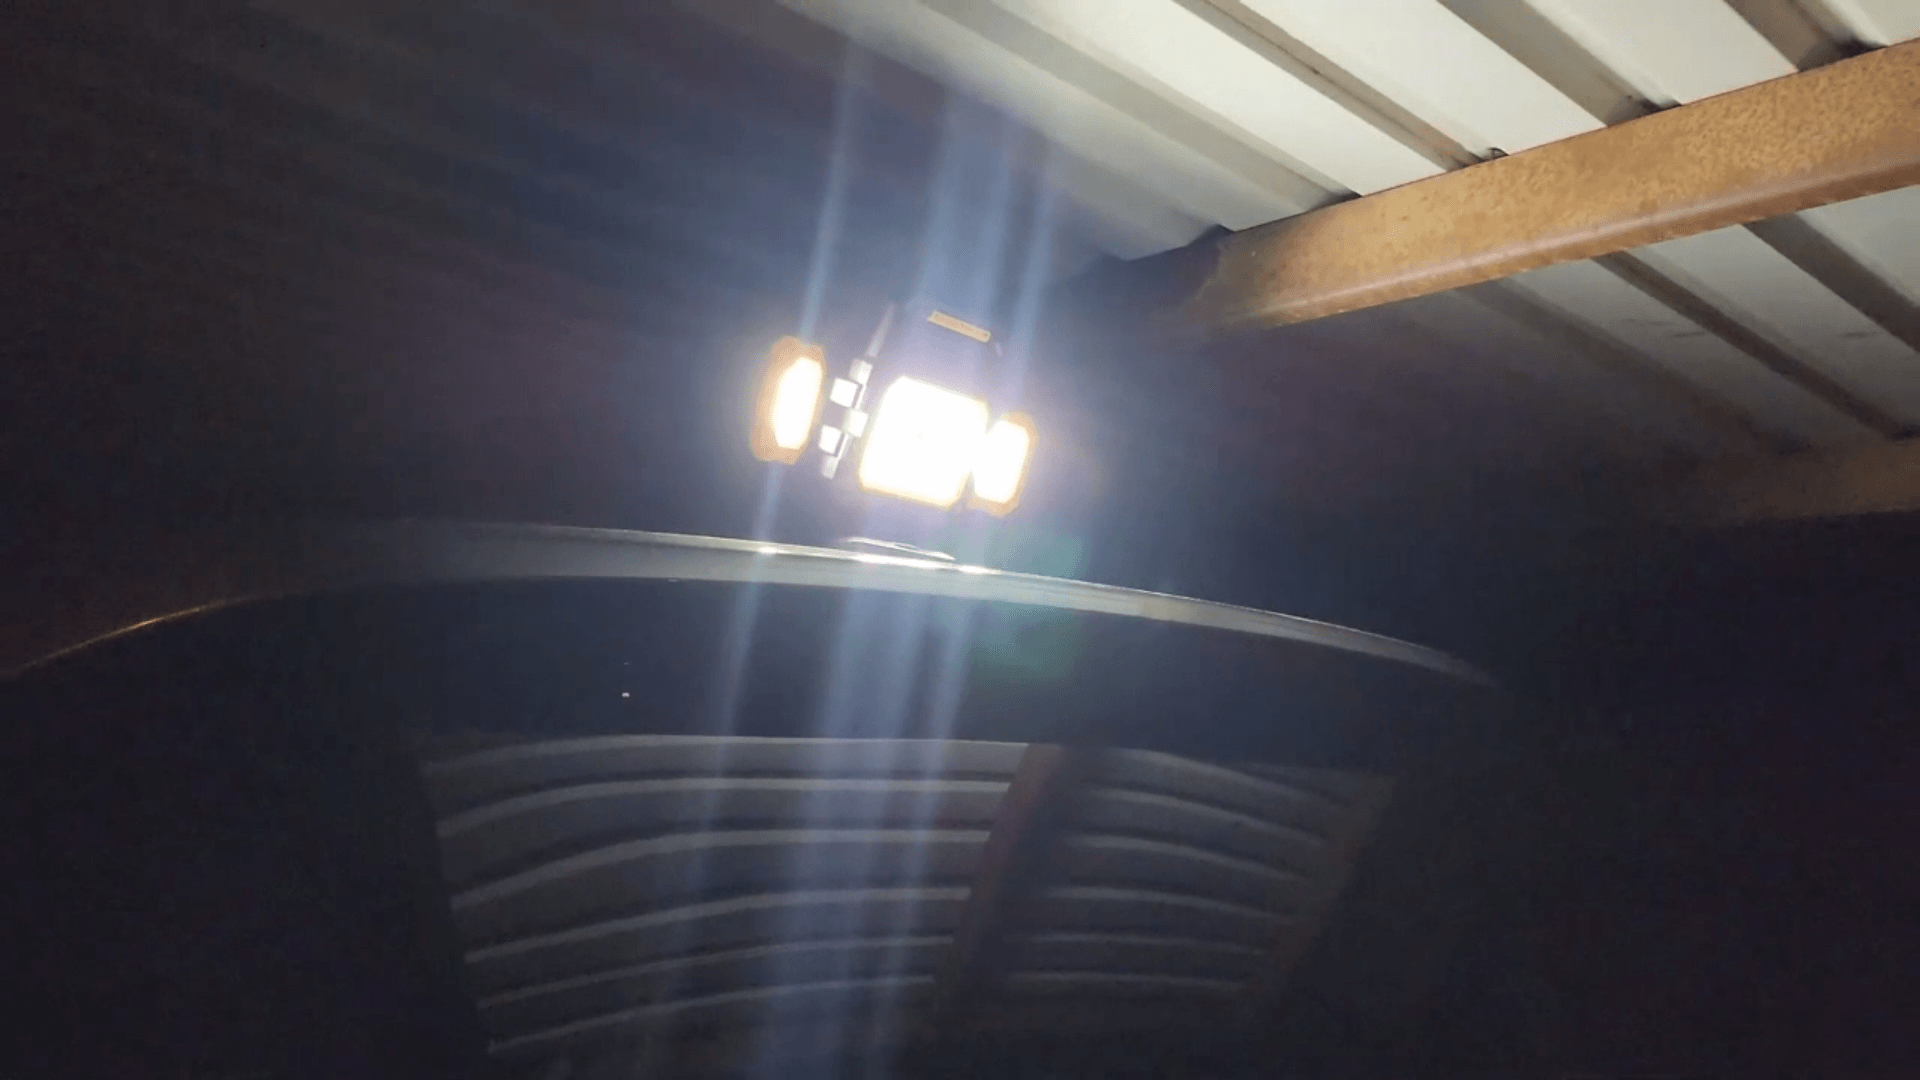
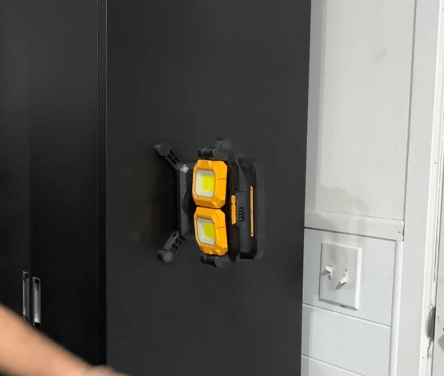
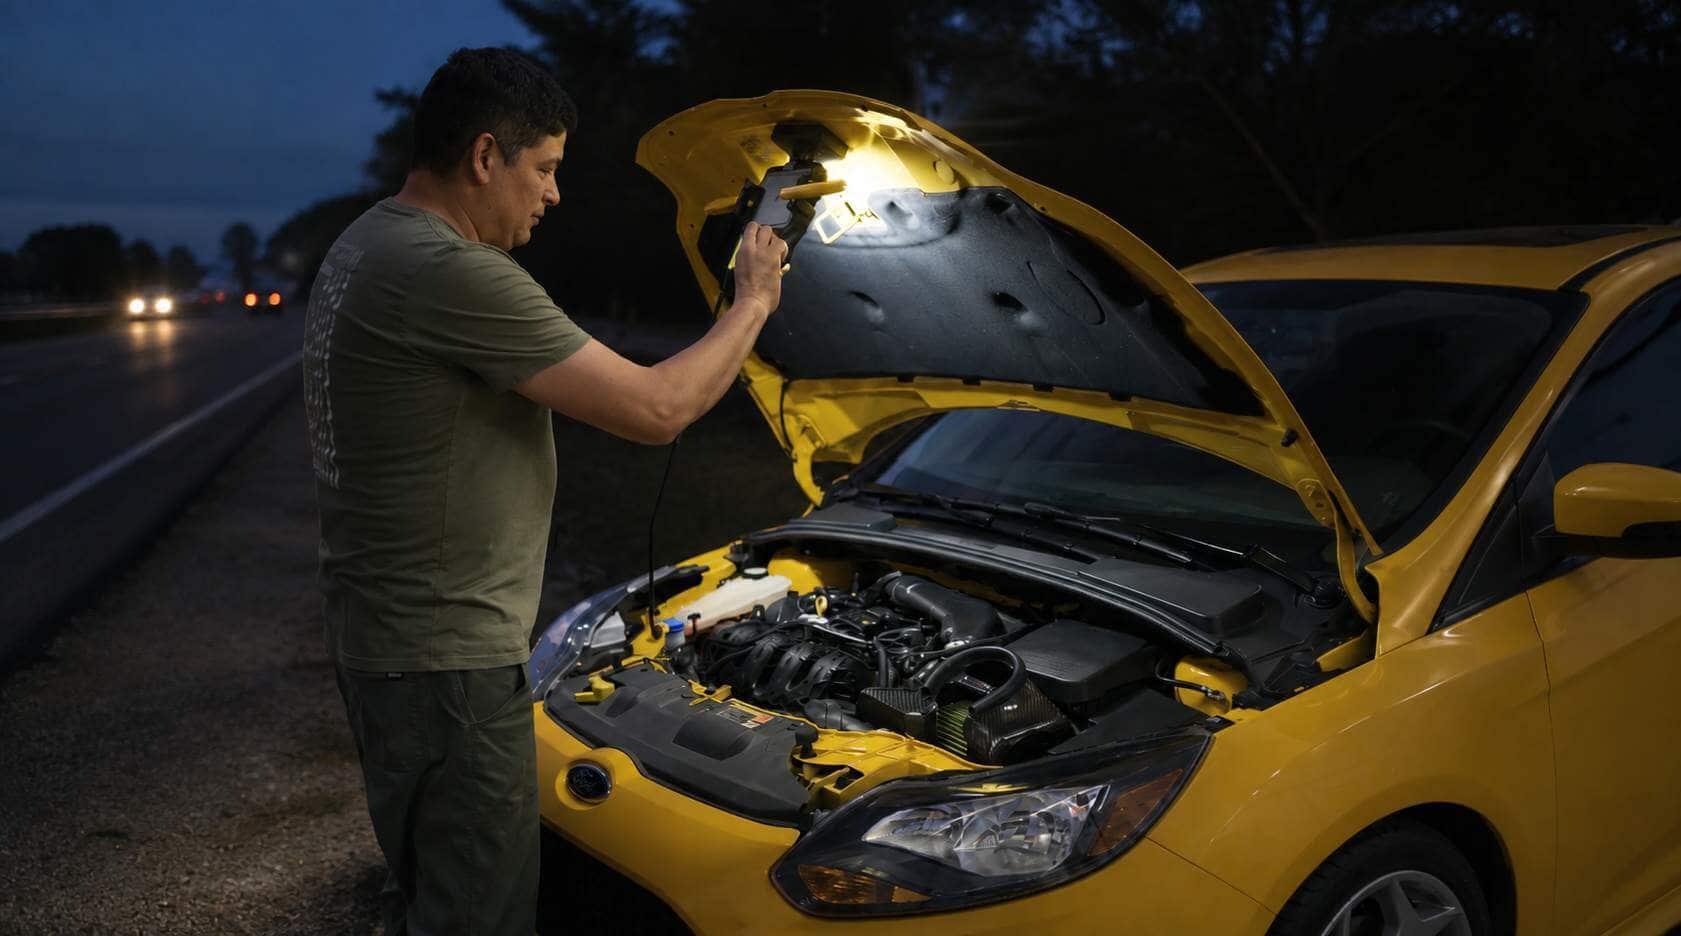
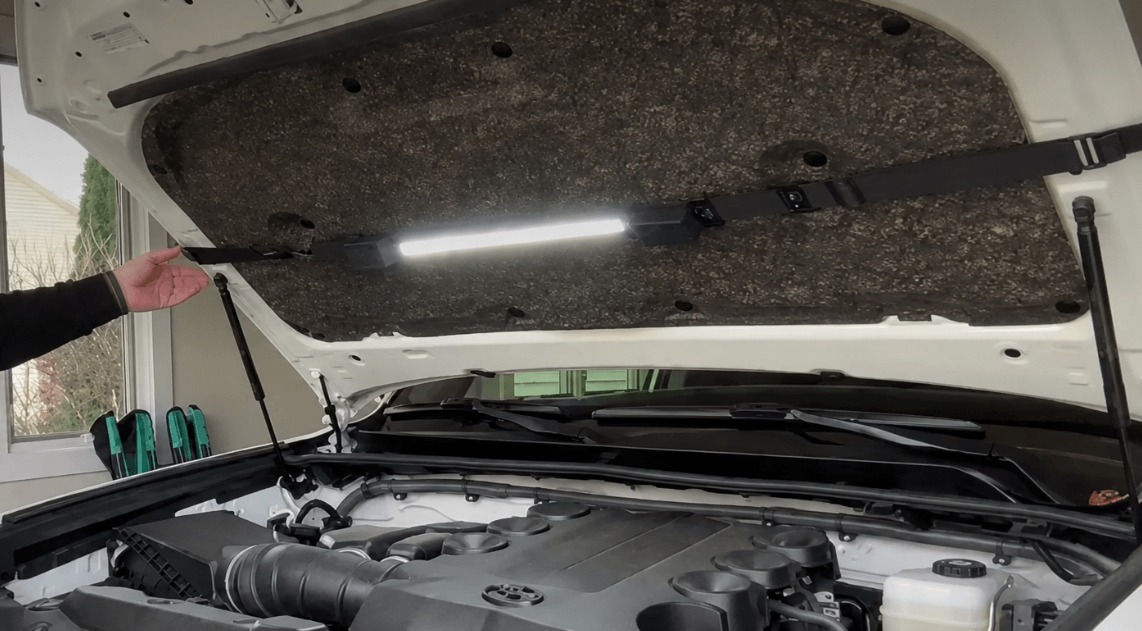
Underhood work presents a different problem. Once the hood is open, the engine bay can sit directly in the shadow of the ceiling fixtures, while a handheld flashlight must be repositioned repeatedly. Our underhood work light guide explains why a dedicated bar-style light is more practical for this area.
The CLAKAP U2 underhood work light places up to 2,600 lumens above the engine compartment. Its adjustable frame extends from 31.5 to 110.2 inches for sedans, SUVs, pickup trucks, and vans, and the lamp can detach for closer magnetic task lighting.
For broader household projects, see how to choose a work light for home repairs and DIY. Different jobs need different combinations of brightness, coverage, runtime, and hands-free mounting.
Neither type of portable work light replaces ambient garage lighting. They solve local shadows that appear during maintenance, inspection, and hands-on projects.
Final Takeaway
Start with the size of the garage and the type of work you do. Then account for ceiling height, surface colors, fixture placement, beam distribution, and glare.
Ceiling fixtures should make the room comfortable to navigate and use. Task lights such as the W5 or CLAKAP U2 handle the places fixed lighting cannot reach, including workbenches, wheel areas, and engine compartments.
The best garage lighting plan is not the one with the biggest lumen number. It is the one that puts the right amount of light in the right place.